About five years ago i bought a light coat. I wore it for maybe couple times and then it got stuck in my wardrobe for a long time. But two months ago i occasionally remembered about it, but it looked just so boring and, if i can say, unwelcoming:

It was really necessary to do something with it. I thought to make a colourful belt or put some embroidery to the collar, but finally decided to do only minor change: to make colourful cuffs.

(There are sewing threads of two different colours, but finally i used only the brown one).
At first, i knitted a piece in 1x1 rib to measure how many stitches and rows are in 10 x 10 cm, then measured the circumference of the sleeves and came to the conclusion that i needed to cast on 68 st onto my stockinette needles (#2,5 mm).

Then I made a 10 cm heigh piece in 1x1 rib.

And for the cast-off I used a needle.

After i hid the ends of the thread i got a piece that finally looked like that:

Then i took off the cuffs of the sleeves (sorry for the yellowish picture).

The next step was to iron the open edges of the sleeves, fold them inside and attach the knitted piece with pins (or needles) so it would be comfortable to sew them.

I want to put special attention to how the knitted piece was attached. I turned the sleeve inside out (so on the picture above you see the sleeve's inside) but left the knitted piece right side out (or did nothing to it), and then i just put the knitted piece onto the sleeve and fixed it with needles.
Then i turned the sleeve back out and sewed everything together.

(As you can see the sleeve is now seen from its right side but the knitted piece is inside out coming from inside the sleeve.)
As for how to sew. I did it by hands 'cause i fount it quite uncomfortable to sew with a machine in this particular case, and i'm not so good at machine sewing. But if you like machine stitches i see no problems with that :)
And then you just fold the knitted piece up the sleeve and do the other sleeve the same way.

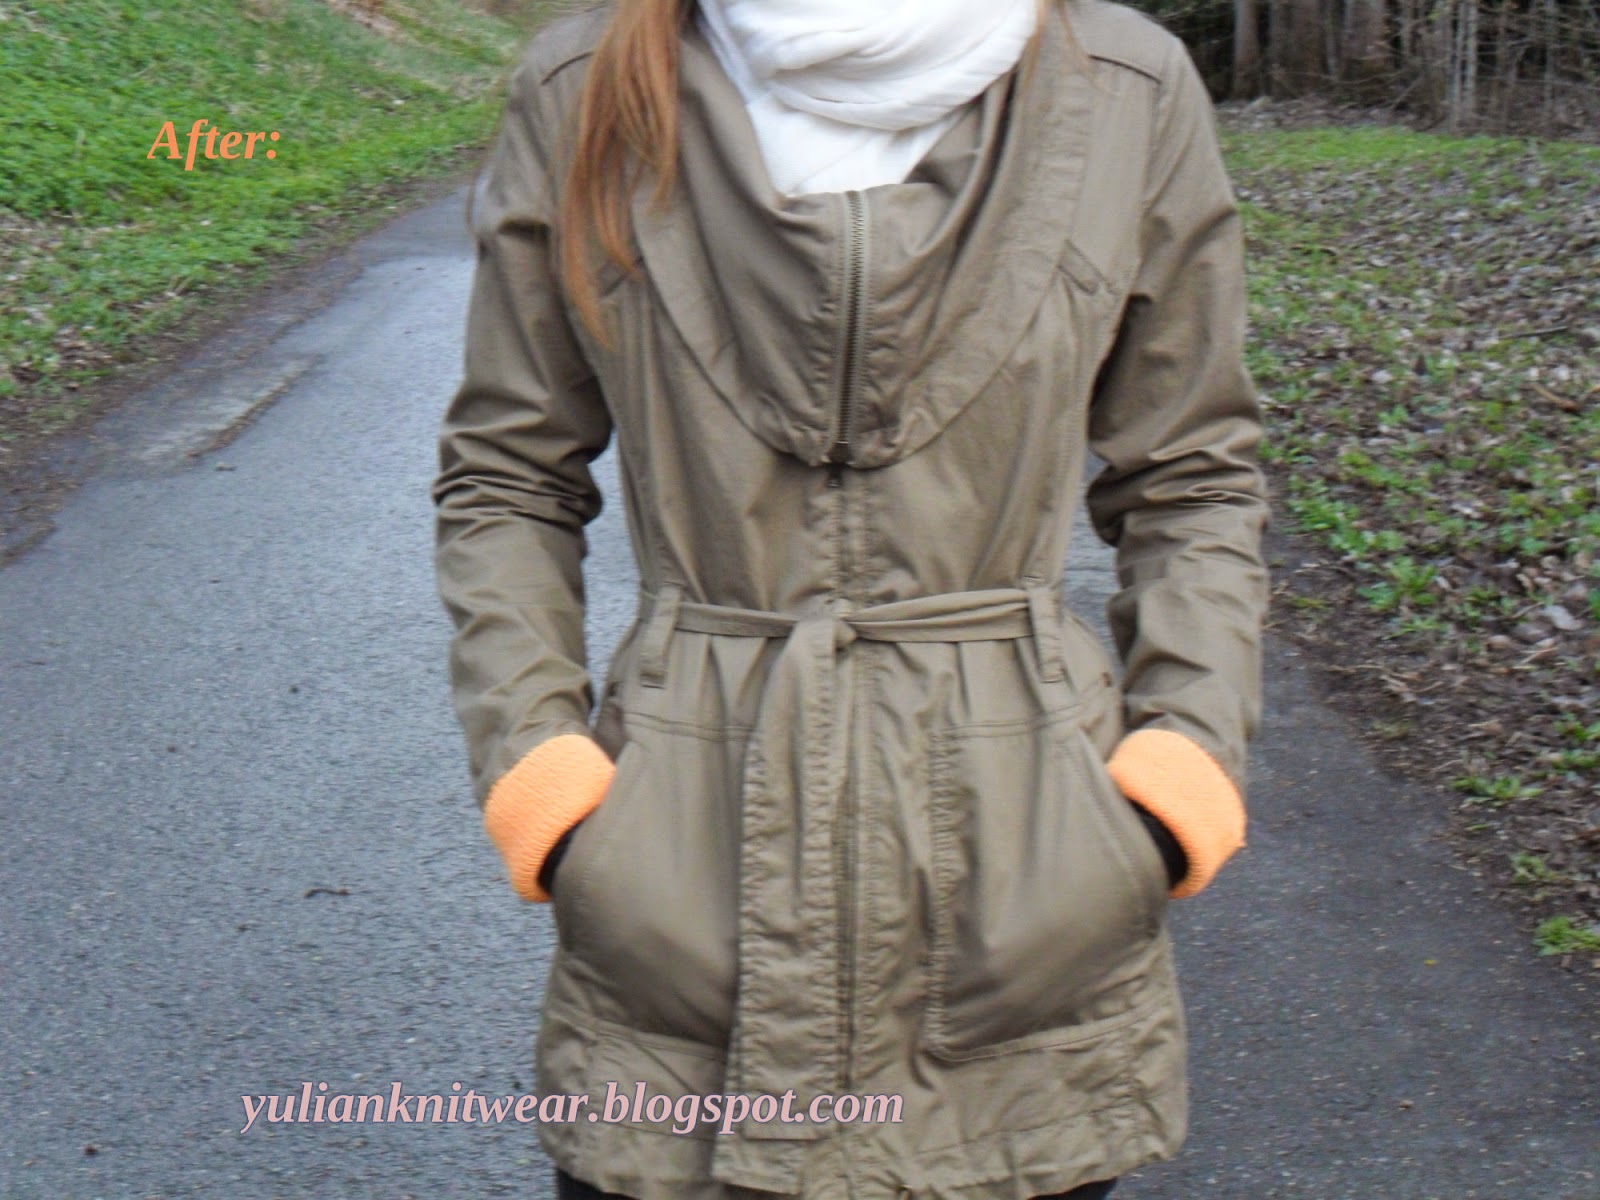
And here's the overall look :)
Thanks for reading this post and i hope to see your comments. If you've ever tried to remake any of your clothes you're very welcome to share some photos!
It was really necessary to do something with it. I thought to make a colourful belt or put some embroidery to the collar, but finally decided to do only minor change: to make colourful cuffs.
And here i'd like to share my experience with you.
Here is the set of tools you may need:
(There are sewing threads of two different colours, but finally i used only the brown one).
At first, i knitted a piece in 1x1 rib to measure how many stitches and rows are in 10 x 10 cm, then measured the circumference of the sleeves and came to the conclusion that i needed to cast on 68 st onto my stockinette needles (#2,5 mm).
Then I made a 10 cm heigh piece in 1x1 rib.
And for the cast-off I used a needle.
After i hid the ends of the thread i got a piece that finally looked like that:
Then i took off the cuffs of the sleeves (sorry for the yellowish picture).
The next step was to iron the open edges of the sleeves, fold them inside and attach the knitted piece with pins (or needles) so it would be comfortable to sew them.
I want to put special attention to how the knitted piece was attached. I turned the sleeve inside out (so on the picture above you see the sleeve's inside) but left the knitted piece right side out (or did nothing to it), and then i just put the knitted piece onto the sleeve and fixed it with needles.
Then i turned the sleeve back out and sewed everything together.
(As you can see the sleeve is now seen from its right side but the knitted piece is inside out coming from inside the sleeve.)
As for how to sew. I did it by hands 'cause i fount it quite uncomfortable to sew with a machine in this particular case, and i'm not so good at machine sewing. But if you like machine stitches i see no problems with that :)
And then you just fold the knitted piece up the sleeve and do the other sleeve the same way.
And here's the overall look :)
Thanks for reading this post and i hope to see your comments. If you've ever tried to remake any of your clothes you're very welcome to share some photos!


.jpg)


