воскресенье, 19 октября 2014 г.

Last knits

Long time no messages from me. However it doesn't mean i stopped knitting :)
I've knitted quite much lately, but i'm just so lazy to take photos and post them.
This week i managed to fight against my laziness and here are the newest items.
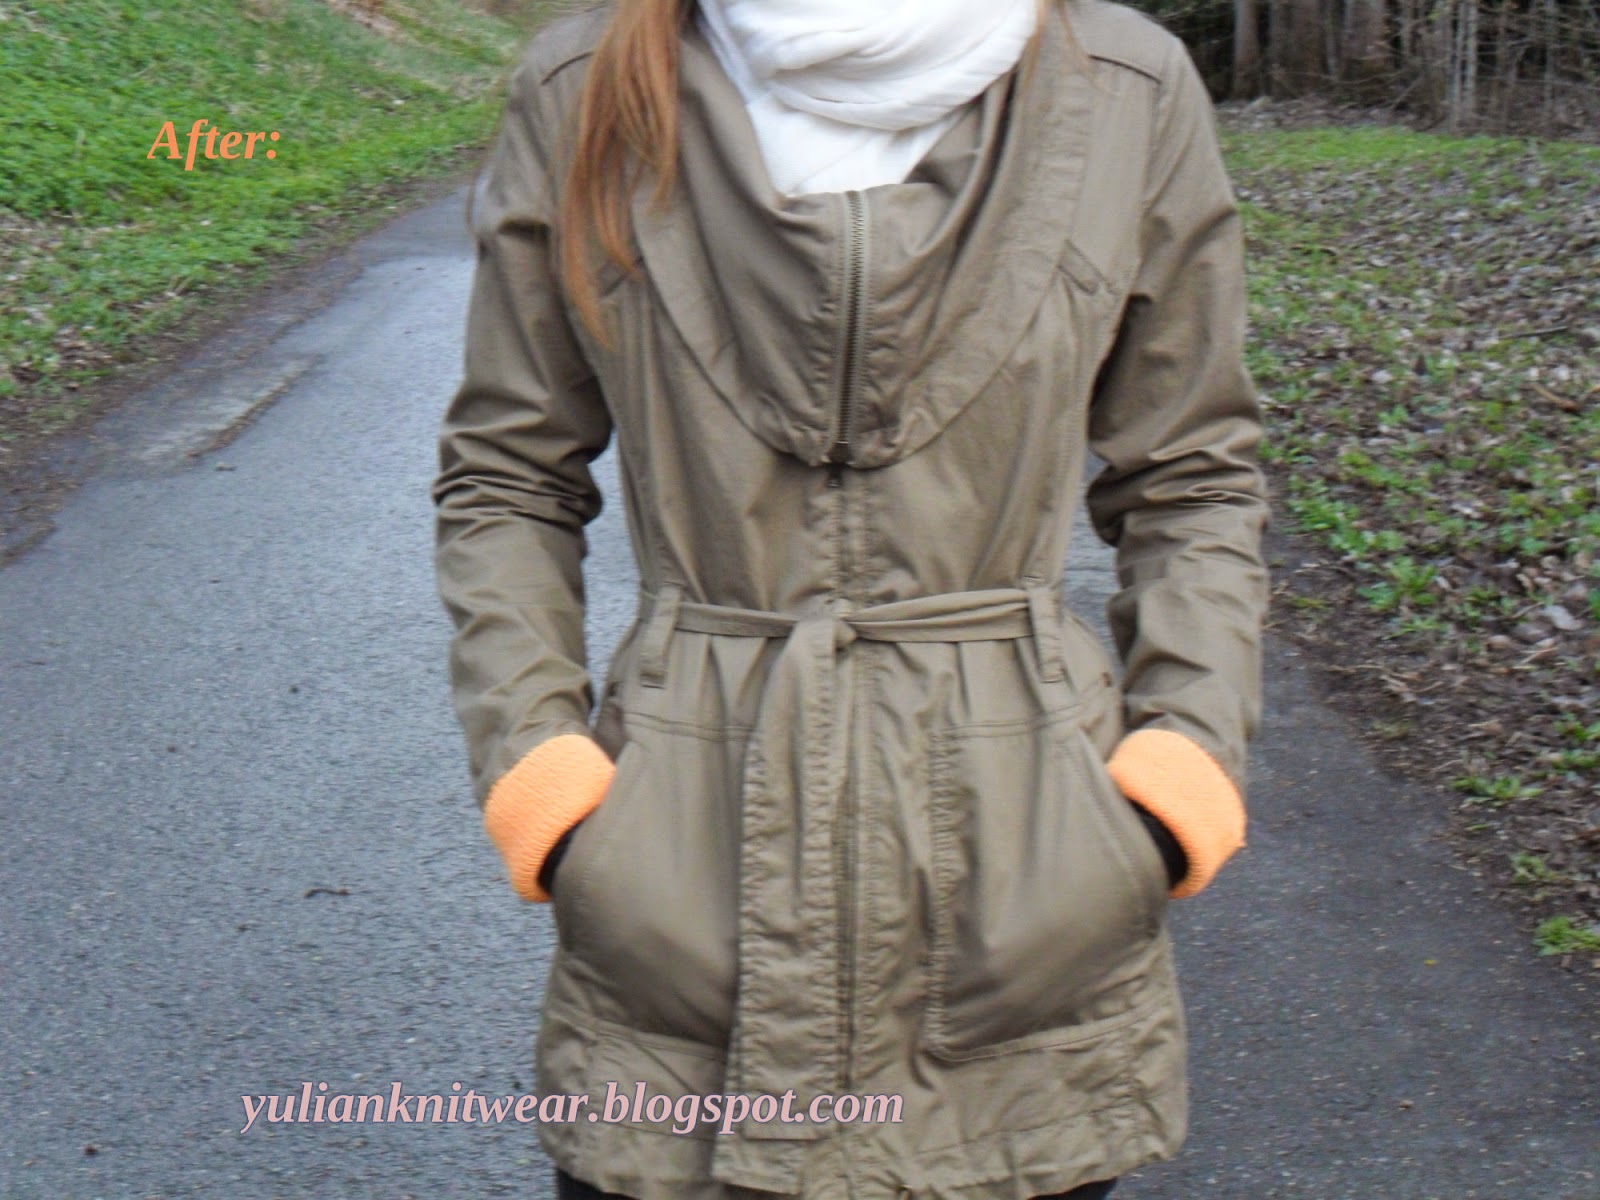
At first it's a pullover for myself.
It's very light (only 200 gr of yarn used) but warm. Made with needles size 3,5 mm, but my knitting is very loose so, one st in 3,5 mm needles here could equal approx. 4-4,5 mm with somebody else's knitting. The yarn used is composite: 30% mohair, 70% acrylic.
Unfortunately, i cannot give you instructions just because they don't exist. The only thing i had was the picture with measures in cm, that's it.
You can also check how it looks on me on Instagram.

The latest item is socks.
This time i used pattern from DROPS Design.  I changed it little bit, so the socks are about two cm longer in ankle. I also didn't have Garn studio yarn available, so i used what i had with approximately the same length/weight ratio (in my case it was "7 Veljestä" by Novita). Quite easy and quick to make, but they look very nice.

So here were the latest news from me :)

среда, 24 сентября 2014 г.

New address

Hello there!

From now on you can contact me to yulianknitwear@gmail.com :)
I'll be happy to answer your questions concerning my blog and it's contents. For example, you can try asking me to translate instructions into Finnish or Russian and even French or Italian (but i do not promise a good result).

Looking forward to hearing form you!

среда, 2 июля 2014 г.

Pillow stories

Some time ago one of my acquaintances asked me to knit pillowcases for her new interior. That was an interesting project with only one "but - some of them took too much time to make.
But nevertheless they are all done and I present you pictures of two of them:


Two same-style pillowcases for a sister and a brother :)

пятница, 9 мая 2014 г.

Old new clothes

About five years ago i bought a light coat. I wore it for maybe couple times and then it got stuck in my wardrobe for a long time. But two months ago i occasionally remembered about it, but it looked just so boring and, if i can say, unwelcoming:


It was really necessary to do something with it. I thought to make a colourful belt or put some embroidery to the collar, but finally decided to do only minor change: to make colourful cuffs.
And here i'd like to share my experience with you.
Here is the set of tools you may need:


(There are sewing threads of two different colours, but finally i used only the brown one).
At first, i knitted a piece in 1x1 rib to measure how many stitches and rows are in 10 x 10 cm, then measured the circumference of the sleeves and came to the conclusion that i needed to cast on 68 st onto my stockinette needles (#2,5 mm).


Then I made a 10 cm heigh piece in 1x1 rib.


And for the cast-off I used a needle.


After i hid the ends of the thread i got a piece that finally looked like that:


Then i took off the cuffs of the sleeves (sorry for the yellowish picture).


The next step was to iron the open edges of the sleeves, fold them inside and attach the knitted piece with pins (or needles) so it would be comfortable to sew them.


I want to put special attention to how the knitted piece was attached. I turned the sleeve inside out (so on the picture above you see the sleeve's inside) but left the knitted piece right side out (or did nothing to it), and then i just put the knitted piece onto the sleeve and fixed it with needles.
Then i turned the sleeve back out and sewed everything together.


(As you can see the sleeve is now seen from its right side but the knitted piece is inside out coming from inside the sleeve.)
As for how to sew. I did it by hands 'cause i fount it quite uncomfortable to sew with a machine in this particular case, and i'm not so good at machine sewing. But if you like machine stitches i see no problems with that :)
And then you just fold the knitted piece up the sleeve and do the other sleeve the same way.


And here's the overall look :)


Thanks for reading this post and i hope to see your comments. If you've ever tried to remake any of your clothes you're very welcome to share some photos!

четверг, 27 марта 2014 г.

Knitted flower

Here I present my version of quite a popular instruction on how to knit a flower.
It's very simple and quick. I think it would be very cool to make it together with children.

So for that you'd need 2 needles (30-35 cm long) and a thread. You won't need a long thread, so if you have some leftovers you can successfully use them here.

To start with, you cast on 56 st, and knit 9-11 rows in st st. An you get smth like this:
In the next row (which should be on the back side) we start manipulations: edge st, 4 p, drop 1 st, 8 p, drop 1 st, 8 p, drop 1 st, 8 p, drop 1 st, 8 p, drop 1 st, 8 p, drop 1 st, 4 p, edge st.
As for the dropped stitches, you need to unweave them down to the 2nd row. When you turn the piece it looks approximately like this:
So in the next row (right side) you do like this: edge st, 4 k, *put the right needle through the dropped stitch and under the loose yarn and knit it, k8*, repeat 4 times, k the dropped st, 4 k, edge st.
In the next row purl 3 st together at a time, so when you turn the piece it should hopefully look better than this:

You can notice that i didn't put the needle under the loose yarn. But anyways, the only thing left to do is to gather all the stitches onto the thread forming a flower and graft the ends of the piece forming a petal:
With this piece i made a pin.
I'd be really happy to read your comments and see your flowers! :)

среда, 19 марта 2014 г.

Now on Myspace!

Great news! Now you can find my works on Myspace.
There i'm planning to post photos of my works, which haven't been published here ('cause i'm too lazy to write about each and every piece). Hurray!

воскресенье, 9 марта 2014 г.

Colour issues again

Last time I wrote about "taking advice" from nature when it comes up to combining colours. However there are methods which correspond to current technical progress :)
On internet you can already find interesting colour palettes and even whole web-sites of such palettes. And here i present you a project www.design-seeds.com. The project has been created by Jessica, who besides being passionate about colour, also has degree in industrial design and worked for Ford, Timberland and Reebok, so there can't be any questions about professionalism and experience of the project's founder. On the website you can search palettes by theme and colour value. It's also possible to purchase palette books and some other products.
Another and very, i'd say, serious approach to colour matching is Pantone Matching System: pantone.com. Well, you can browse their page by yourself, so there is no need to tell in details about their products. The most important is that they make trend forecasts and that's how we can find out what are the most fashionable colours of coming seasons. And so the colour of the year 2014 is Radiant Orchid.
Do you use any services in matters related to colour?

четверг, 6 февраля 2014 г.

New Year pullover

Yep, I must say I'm not very successful with knitting something for myself. But last year before Christmas and New Year celebrations I finally finished a white pullover. I've been knitting it for more than a year. In Autumn 2012 I made a white pullover, wore it couple times, but then understood I didn't like it, so i destroyed it. Then I started a new one, made it slowly for couple months, but then again stopped liking it, so destroyed it again. And finally I understood what I really wanted. I wanted a simple piece of clothes which would look humble and warm me in cold days, but at the same time it should also have something interesting, so I found a pattern, which in its turn was also simple. (Yep, simplicity is my disease, if I can say so).

So here it is:


For this pullover I used needles #5. (And it's all for XS size.)
I'm, frankly, too lazy to tell about the whole process, but can tell generally.

For the back and the front piece I cast on 72 st. The rib's height is 5 cm.
The back piece and the sleeves are entirely in st st after the rib. For the back piece: in the next row after the rib I add evenly 4 st and continue in st st until I come up to armholes, where I cast off 9 st from both sides of the piece. Then I continue in st st for 19 cm, after what cast off all the st.
The front piece goes the same way as the back one, but there is a pattern in the middle, so it goes like that:
5 cm in rib, next 2 rows - in st st, while in the first of them I evenly add 4 st. Then we start the pattern: edge st, k12, p1, cable (on 3 st), p1, pattern (36 st), p1, cable (on 3 st), p1, k12, edge st.
And it goes like that until armholes, where I cast off 9 st on both sides. So now instead of 12 k, we make 3 k. And then 19 cm more and cast off all the stitches.
For sleeves I cast on 38 st, knit 5 cm in rib, the next row I add 2 st on both sides, and then stitch adding goes like that: add 2 st in every 8th row 9 times, and after that add 2 st in every 6th row 4 times. Then continue until needed length and cast off all the stitches.
Sew all the parts together.

As for the cable and pattern. We make cable on 3 st: 2 rows in st st, for the next row slip 2 st on cable needle behind the piece, k1, k st from the cable needle. And repeate like that.

And pattern is here:
This pattern shows how it looks from the right side.


Signs:
k
slip as to k, k, po
tk
k2tog
yo


Yep, too much to read, but I hope you manage it :)